Segmenting in napari and exporting a mask in FIJI#
Workflow for 2D Segmentation#
Go to the Plugins dropdown and select cellpose-napari.
Open your image in the napari viewer.
Select the appropriate cellpose parameters from the options on the right side of the screen on the cellpose-napari panel. Be sure to uncheck Process stack as 3D.
Click the bar at the bottom of the cellpose-napari panel to run the segmentation.
Workflow for 3D Segmentation#
Go to the Plugins dropdown and select cellpose-napari.
Open your image in the napari viewer.
Select the appropriate cellpose parameters. Be sure to check Process stack as 3D OR use the stitch threshold slices option.
Click the bar at the bottom of the cellpose-napari panel to run the segmentation.
Workflow for Time segmentation#
Go to the Plugins dropdown and select cellpose-napari.
Open your image in the napari viewer.
Select the appropriate cellpose parameters Be sure to use the stitch threshold slices option with value > 0.
Click the bar at the bottom of the cellpose-napari panel to run the segmentation.
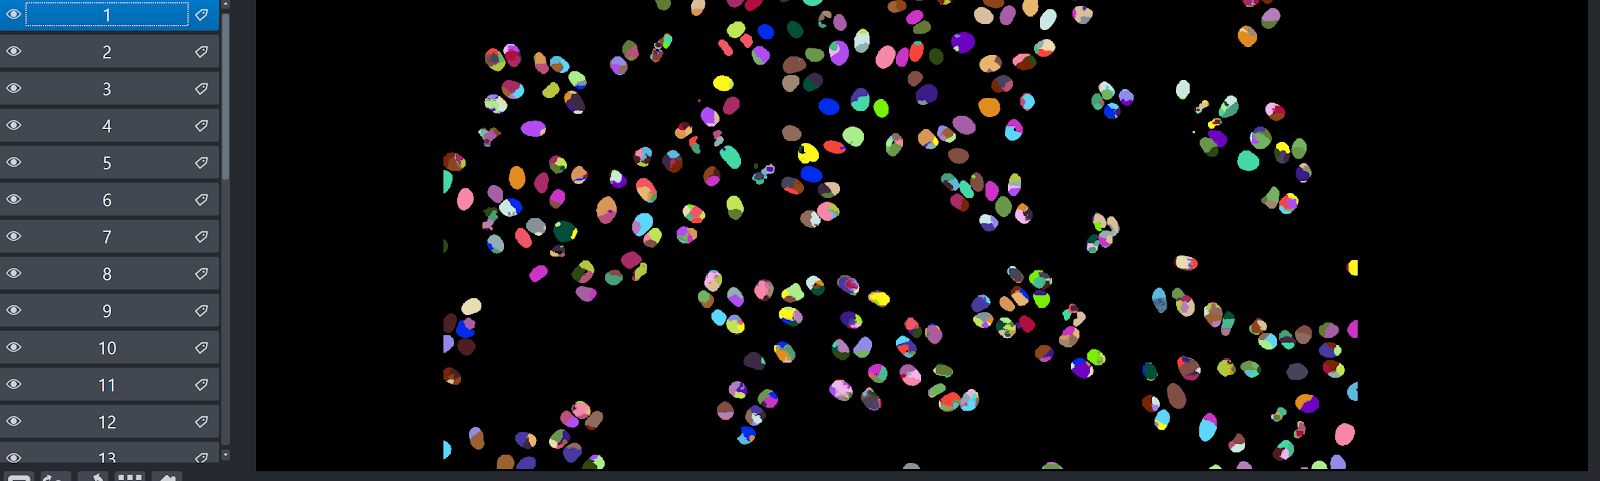
Export mask as TIF#
Convert the label layer into an image by right clicking on it and selecting: Convert to Image. Proceed to split this image into individual images by right clicking and selecting Split Stack (3D and time series only). Then reconvert each image into a label by right clicking on it and selecting: Convert to label. Rename them as makes sense to you (e.g. 1-12). Finally, save each label as a tif.

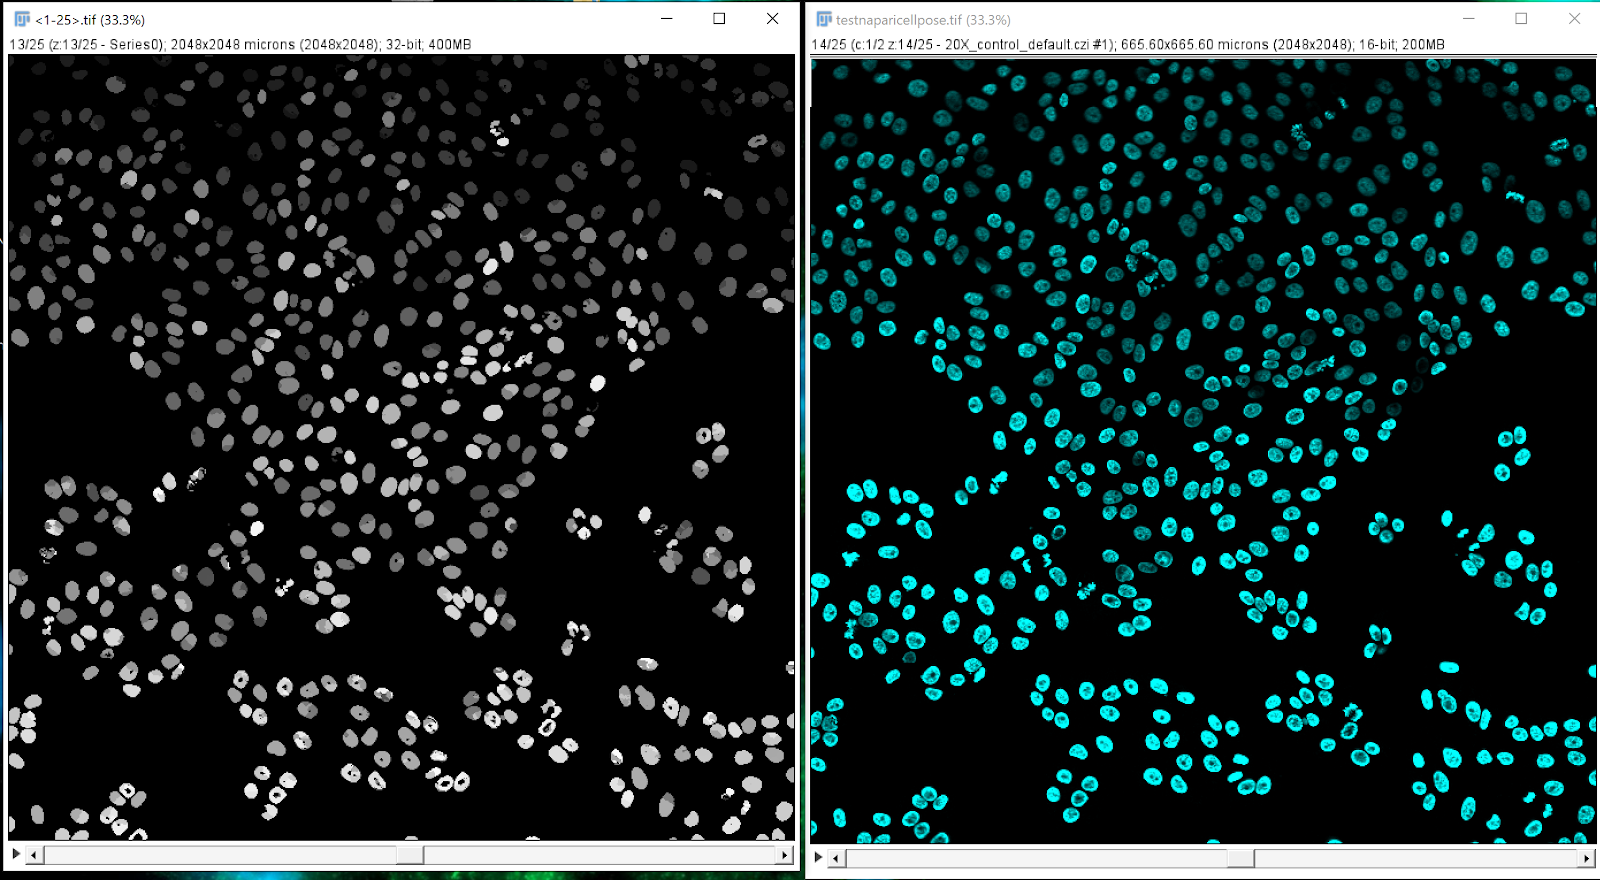
Opening the mask in FIJI#
Use the plugin Bio Format importer and select: group file with similar name (3D and time series only). In the pop-up window, select: pattern. Open normally for 2D mask. You will be able to display the raw image and the mask image side by side.
Using the mask as a mask#
Navigating to the main menu in FIJI, go to process > binary > convert to mask > Yen.
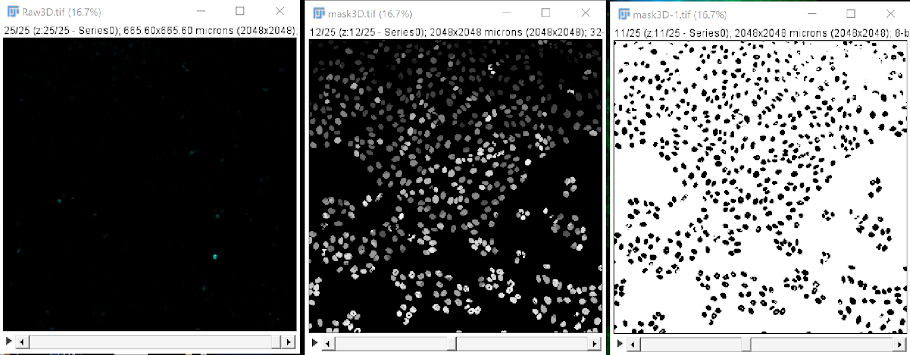
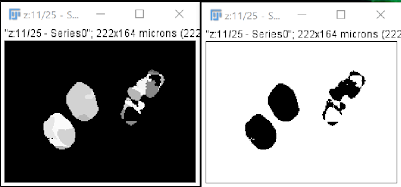
Performing this binarization step can also correct some segmentation issues that may arise. As we can see in the example above, cells were oversegmented with cellpose-napari, but binarization in FIJI corrects this, as shown below, the left image shows oversegmented cells and the right one shows properly segmented cells due to binarization.
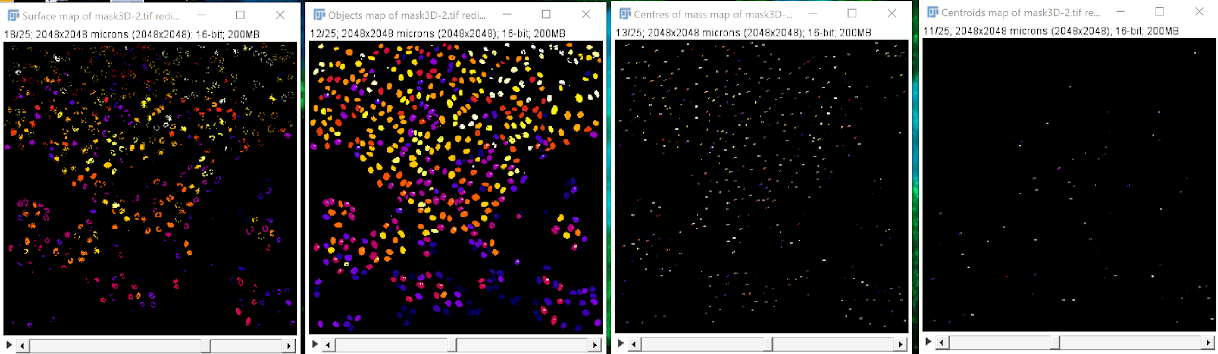
Performing a 3D analysis#
In FIJI, you may perform a 3D analysis of your image’s mask in one of two ways, as shown in the video above:
Analyze > 3D OC options > select measurements option
Analyze > 3D object counter > fine tune if necessary