
Create a virtual environment and install napari#
Create a virtual environment#
We’ll now create a virtual environment and install napari into it. You can name your virtual environments anything you like. For this example, we’ll create a virtual environment called “napari-env”. However, outside of the environment’s name, the exact syntax needs to be followed. Just substitute your desired environment name for napari-env below and in subsequent steps.
conda create -y -n *napari-env* -c conda-forge python=3.9After hitting the enter key, the virtual environment is created with a specific Python version (3.9 in this case) installed into it. If you need a different version of Python, specify that version instead of 3.9.
Note
For the purposes of this tutorial, it is not necessary to understand the nature of the syntax. It is critical, unless otherwise instructed, to copy the command syntax exactly as you see it here.
Activate virtual environment#
While the virtual environment napari-env has been created, it has not been activated yet. (base) is still indicated on the command line, as shown below:

Enter the following command on the command line to activate the virtual environment:
conda activate napari-env(napari-env) should now be indicated on the command line, as shown below:

Install napari#
To install napari into the activated environment, enter this command on the command line and hit enter:
conda install -c conda-forge napariThis may take some time (a few minutes). If user input is be required to continue as dependencies are checked, the following will be displayed:
Proceed ([y]/n)?Type y, then enter, or simply hit enter.
This may take another few minutes to get all the requisite packages downloaded, extracted, and executed.
At this point, you will be returned to the prompt indicating the virtual environment you’ve just installed napari into. To launch napari, simply type the one word command below and hit enter:
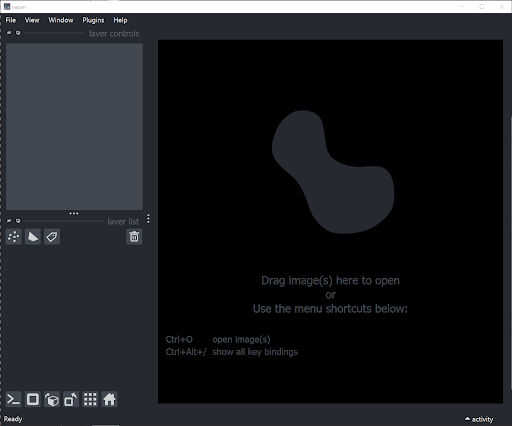
napariIn a few seconds, the napari viewer window should be displayed:
Note: The first time you launch napari may take longer than usual.
You have now successfully installed napari onto your machine!
Launching napari after installation session#
Now that you have installed napari, the procedure for launching it is:
Windows users enter
anaconda prompt (miniconda3)
in the search bar.Mac users enter
terminal.Once you have the terminal or prompt window, enter
conda activate napari-env
on the command line to activate the virtual environment you created and installed napari into.Enter
naparion the command line to launch napari.